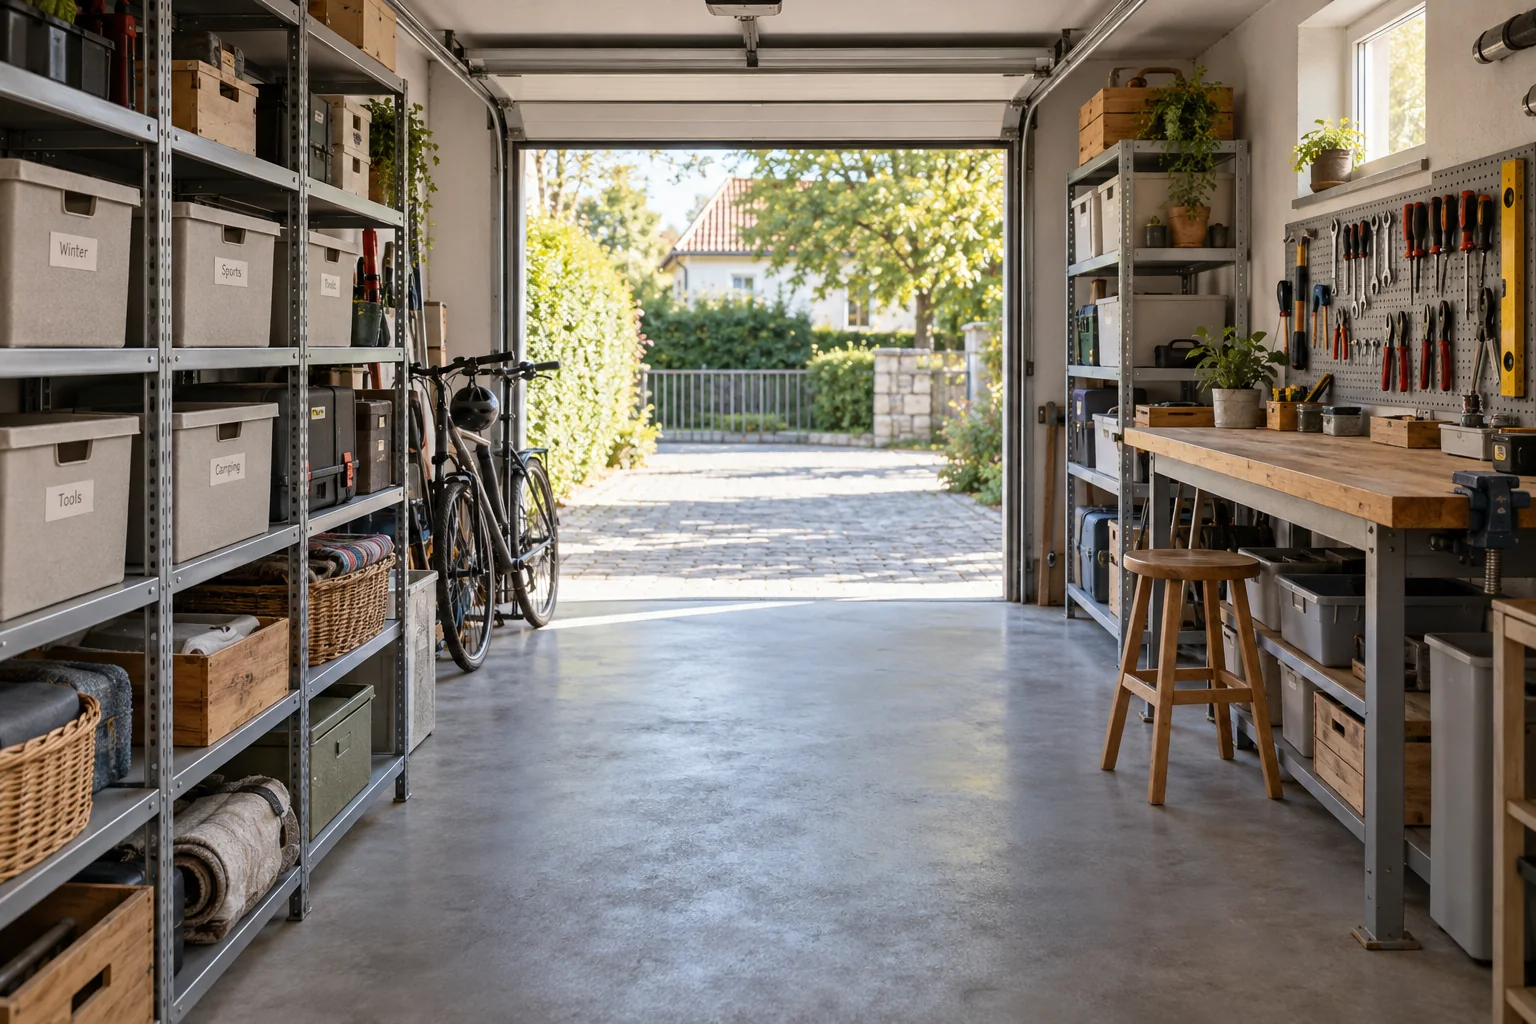
Choose what you want the garage to do
A garage can become a waiting room for decisions: a broken chair, a box from the last move, a tool that belongs to somebody else. A useful cleanup starts by deciding what the room should make possible. Perhaps you want to wheel a bicycle out without moving three boxes. Perhaps you want to park, or use the workbench again.
Write one finish line: “I can get the bike out and put it back.” Keep it visible while you work. A clear route and a usable shelf count as progress, even if the rest of the garage needs another session.
Walk the route first. Notice the garage door’s moving parts, internal doors, meters, sockets and equipment that must remain accessible. Leave the clearances required by their instructions. Do not choose a storage layout that blocks an exit or makes servicing equipment harder.
Prepare a small sorting area
Choose a dry place for ordinary belongings while you sort. Keep doors and walking routes clear. Use three existing boxes or sheets of paper marked keep here, belongs elsewhere, and leaving. The leaving group can later split into donation, recycling and disposal. You do not need matching containers to start.
Take a reference photo for yourself if it helps you remember where things came from. Choose one shelf, one bench, or a short stretch of wall. Avoid emptying the whole garage unless you have the space, time and help to put it back before you stop. Check the weather before using any outdoor sorting space.
Ordinary belongings and potentially hazardous materials need different handling. Keep products in their original labelled containers and never combine leftovers. Follow label directions and local collection guidance for paint, solvents, batteries and other special waste. Stop ordinary sorting around leaking or unidentified substances and ask the local waste service for instructions. See the EPA household hazardous waste guidance. In the Netherlands, use Milieu Centraal’s KCA guide and your municipality’s collection rules.
Make a decision while the object is in your hand
For each ordinary item, ask: what do we use it for, does it work, and where will it live? Keep a tool because it has a job, rather than because there might be an empty hook. Return borrowed objects to their owners. Ask other household members before donating shared possessions.
A repair pile needs a limit. Choose a realistic repair date and the person who will arrange it. If neither is clear, put the item on a decision list instead of hiding it beneath the bench. Keep that list short enough to revisit.
Compare the duplicates together. Two similar tools may both be useful; four incomplete sets may not be. Keep the set you can identify, reach and actually use.
For donations, check what the recipient accepts before loading the car. Set a collection or delivery date. For waste, check accepted materials, opening times and any appointment requirements. Do not leave a mixed pile beside the door and count it as finished.
Clean the space you have cleared
Once a shelf or bench is empty, inspect it before refilling it. Check for loose parts, damage and signs of moisture. A cleanup cannot fix a leak or make damaged shelving sound. Address the cause before storing belongings there.
For ordinary dirt on an intact washable surface, follow the surface manufacturer’s cleaning instructions, use a suitable product as directed and allow the area to dry. Do not mix cleaning products. Treat chemical spills, suspicious dust, mould and animal contamination as separate problems requiring appropriate guidance; do not simply sweep or wash them into a drain.
Keep this stage proportionate. Cleaning the usable bench and the route to it is more useful than polishing a corner that will immediately disappear behind undecided boxes.
Put back by frequency of use
Start with the objects that come out every week. Give them an obvious, reachable place near where you use them, while preserving the clear route. Keep a complete activity together where practical: the bike pump beside cycling supplies, or gardening gloves with the hand tools.
Occasional equipment can sit farther from the everyday route. Keep heavy items low and use shelving within its stated load limits. Follow the shelf and wall-fixing instructions; an empty-looking wall is not evidence that it can support a rack. This guide does not cover installing overhead storage.
Leave room to remove the largest item, not just room to display it. A bicycle needs a route out. A lidded box needs space to open or lift down. Test those movements before adding the next group.
Use the garage storage comparison to choose between open shelves, labelled boxes and cabinets. Measure a cleared shelf before using the storage-fit planner; it estimates container layout, not load capacity.
Close the session properly
Spend the final part of the session putting kept objects back, removing ordinary rubbish appropriately and restoring the walking route. Record exactly what remains: “sort the camping shelf” is easier to restart than “finish the garage.”
Try your original finish line. Take the bicycle out, open the bench drawer, or check the parking space. If you have to move a stack first, adjust the arrangement now. Put the next short review on your own calendar, especially after a season changes.
The printable garage checklist turns this process into a short working sheet. Your first session can end with one useful zone; the rest can follow without undoing it.
A 75-minute session with a real stopping point
Use this schedule as an adjustable planning example, not a promise that a garage can be cleared in 75 minutes. The chosen project is one ordinary shelf and the route to a bicycle. A garage containing leaks, unidentified materials or unsafe shelving needs those issues addressed separately before this plan applies.
| Minutes | Job | Finish condition |
|---|---|---|
| 0–10 | Choose the shelf, check the route and prepare the sorting area. | You can point to the boundary of today's work. |
| 10–35 | Sort ordinary belongings from that shelf only. | Each handled item has a keep, relocate or outgoing decision. |
| 35–45 | Inspect and clean the cleared space as appropriate. | It is suitable to refill; allow extra drying time if needed. |
| 45–60 | Return kept items and label their destinations. | Frequently used objects can be removed and returned. |
| 60–75 | Restore the route, record outgoing arrangements and test the bicycle trip. | You can stop with the garage usable. |
If sorting runs late, reduce the number of objects you handle. Keep the closing period. At minute 60, do not open a second shelf because the first looks nearly finished. A partly sorted shelf can remain the next project; a blocked entrance should not become the price of progress.
Turn the leaving pile into specific arrangements
“Donate later” is still an undecided storage location. Give each outgoing group an action, a responsible person and a date you have actually agreed. The following examples show the difference between a label and a plan; they do not imply a charity has accepted any item.
- Borrowed drill: contact the owner, agree a return, and keep its accessories together.
- Usable chair: check the recipient's acceptance rules and arrange delivery or collection before putting it in a donation group.
- Ordinary packaging: separate it according to the local collection rules and record the next appropriate collection or drop-off.
- Old paint or an unidentified product: use the specialist guidance linked earlier; keep it out of an ordinary donation or mixed rubbish group.
If an arrangement falls through, make another decision on the date you wrote down. Avoid repeatedly moving the same outgoing box between the floor and workbench. Its useful status is “collection booked” or “needs a decision,” not simply “not ours anymore.”
One-zone garage plan
Date and zone boundary: ____________________
Finish line I can demonstrate: ____________________
Time I will stop sorting and begin closing: ____________________
Object / destination / next action: ____________________
Responsible person / agreed date: ____________________
Question or material needing specialist advice: ____________________
Removal-and-return test result: ____________________
Exact starting point for the next session: ____________________
Check the arrangement after an ordinary week
Look for evidence of repeated friction: a pump left on the floor, gloves on the bench, or a box that must move every time the bicycle comes out. Ask what makes the assigned home inconvenient. Moving a daily object closer may be enough; adding another box may make the return harder.
For a private before-and-after record, photograph the same area from the same position if you want to, and write down the task you tested. A photograph of a clear floor does not prove the storage works. “I removed and returned the bicycle without moving another object” describes the result more clearly. Record what actually happened, including a trial that failed. Do not photograph people, paperwork or identifiable belongings without permission.
Use the garage checklist for the closing checks and the storage comparison when a specific storage choice remains. You do not need to redesign the whole garage to preserve one useful route.
Prepared with AI assistance. Examples are illustrative unless explicitly identified otherwise. The original edition was reviewed by the owner on 18 September 2026. Later revisions are described above. Read our editorial approach or report a correction.